Guide · Practical skills · Updated August 2026
Digitising Old Photos With Just Your Phone
That shoebox of prints does not need a scanner. A phone camera and ten minutes of setup capture more detail than the prints actually contain — here is the exact method.
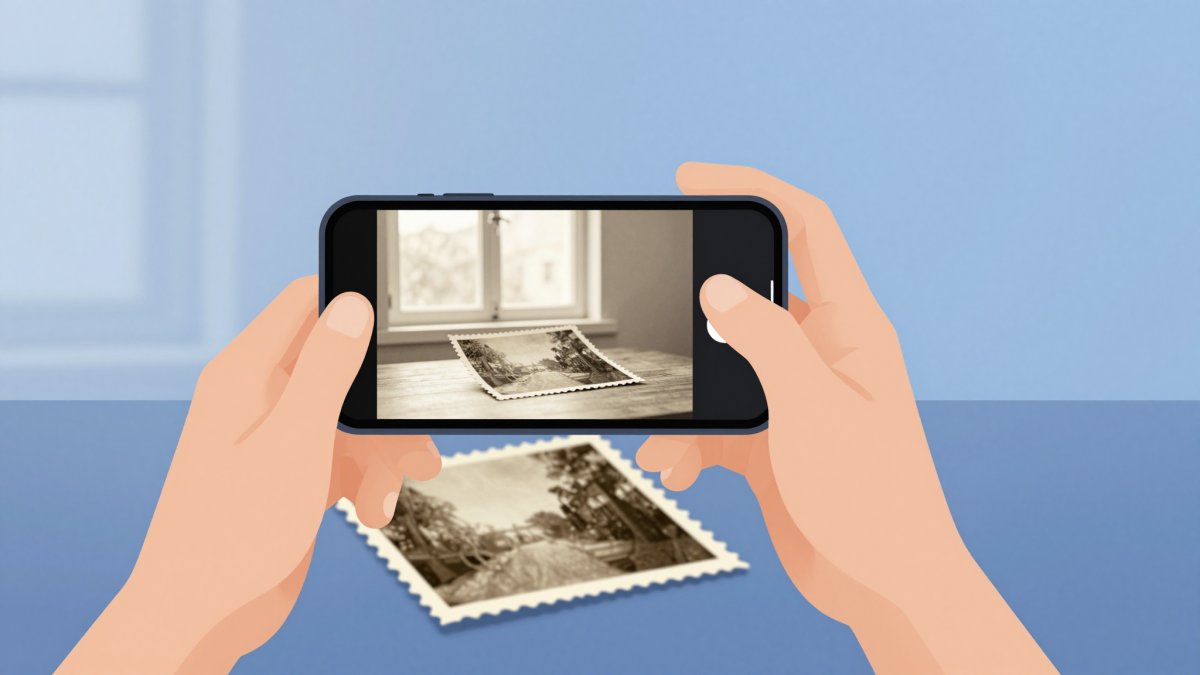
For years the standard advice was "buy a flatbed scanner" — and for years most shoeboxes stayed undigitised, because nobody buys a scanner for one weekend project. The good news in 2026: a mid-range phone camera, used with a little care, matches or beats a cheap flatbed for ordinary photo prints. The sensor has more than enough resolution; what ruins phone "scans" is never the camera. It is lighting, angle and glare — and all three are fixable for free.
Why a phone genuinely rivals a cheap scanner
A budget flatbed advertises huge numbers (4,800 dpi and up), but its real advantages are more modest: perfectly even lighting, a perfectly flat print, and a lens that is exactly perpendicular to the paper. The optics themselves resolve far less than the box claims. A phone camera can reproduce every one of those conditions — you just have to create them by hand instead of getting them from a glass platen. Once you do, the phone even pulls ahead in one way: it digitises a print in two seconds instead of the thirty to sixty a flatbed pass takes, which matters enormously when the box holds four hundred photos.
The setup that removes 90% of problems
Almost every bad phone scan fails in one of four predictable ways. Solve these four things before you shoot anything:
| Problem | What causes it | The fix |
|---|---|---|
| Blown-out glare spots | Flash, or a lamp reflecting off glossy paper | Turn the flash off. Use indirect daylight — near a window, never in direct sun. |
| A shadow across the print | Your own body or the phone blocking the light | Position yourself so the window light comes from the side, not from behind you. |
| Keystoned, stretched shapes | Camera tilted relative to the print | Hold the phone parallel, directly above. Most camera apps show a level indicator or crosshair — use it. |
| Blurry edges, wavy lines | Curled or buckled paper | Flatten the print: press it under a heavy book overnight, or shoot it under a clean sheet of glass from a picture frame. |
The glass trick deserves a note: it kills curl instantly, but glass can add its own reflections. Angle the print so no light source (including your own bright shirt) reflects back at the lens, and wipe the glass first — dust photographs beautifully, unfortunately.
Camera settings: two rules only
- Shoot at full resolution. Check that your camera app is not set to a space-saving mode. You want every pixel the sensor offers.
- One photo per frame. It is tempting to lay out four prints and photograph them together. Resist it — each print then gets a quarter of the pixels. Shoot one print filling the frame, crop later.
The resolution math (it is better than you think)
Here is the arithmetic that makes the whole project viable. A standard 10 × 15 cm print (4 × 6 inches) photographed with an ordinary 12 MP phone camera (4,000 × 3,000 pixels) so that it fills most of the frame gets roughly 3,600 pixels across its 15 cm side. That works out to about 610 pixels per inch of print — and the short side gets the same density.
Compare that to what the print actually holds. Consumer photo labs printed at around 300 dpi, and decades-old prints usually resolve less than that once grain, lens softness and fading are counted. To capture 300 dpi from a 10 × 15 print you only need 1,200 × 1,800 pixels — 2.2 megapixels. A 12 MP capture is not scraping by; it is out-resolving the source by a factor of two. The bottleneck was never your camera. (If dpi versus pixels is fuzzy territory, our guide to DPI, PPI and resolution untangles it properly.)
Process in the right order
Once the captures are on your phone or computer, the order of operations matters:
- Crop and straighten first. Trim away the table background and square up the edges. This is also the moment to fix any slight rotation.
- Keep the full-resolution capture as your master. The cropped original is your archive copy — never overwrite or downsize it.
- Make smaller copies for sharing. Family WhatsApp groups and email do not need 4,000-pixel files. Run copies through our Image Resizer — around 2,000 px on the long side is generous for screens — and send those instead. The resizing happens in your browser, so the originals never leave your device.
Which format for the archive?
JPG at quality 90–92 is genuinely fine for scanned prints. These are photographic images — continuous tones, grain, soft gradients — which is exactly the content JPG compresses well. PNG adds nothing here: it would store the same picture losslessly at five to eight times the file size, protecting detail the print never had. Save PNG for logos and screenshots; the PNG vs JPG guide covers the reasoning in full. The one habit that matters more than format: edit copies, not masters, so you never re-save the archive file repeatedly.
Organise as you scan, not after
Two hundred files named IMG_4783.jpg are a second shoebox — digital this time, but just as unsearchable. Rename as you go, before the session's context evaporates: a decade or year plus an event is enough (1987-summer-beach-trip-03.jpg). Sort the files into folders by decade or by family branch while the prints are still in your hand and Grandma is still in the room to identify people. Our guide to organising a photo library lays out a naming scheme that scales past a thousand images.
Scanning apps vs the plain camera, honestly
Dedicated scanning apps (Google PhotoScan is the best-known) automate parts of this: they detect the print's edges, crop and de-skew automatically, and some combine several exposures to suppress glare. For a big box of prints that automation is real time saved, and the results are good.
But they are not doing anything your plain camera cannot. The auto-crop replaces thirty seconds in any photo editor; the de-skew replaces holding the phone level; the glare removal replaces turning off the flash and using window light. A careful setup with the standard camera app produces files that match app output — and the plain camera always saves at the sensor's full resolution, which is worth confirming in any app before trusting it with the whole box. Use an app if the convenience appeals; skip it without guilt if it does not.
The bottom line
Indirect daylight, a flattened print, a level phone held directly above, flash off. That setup, plus full resolution and one print per frame, captures more detail than the paper holds — around 610 PPI equivalent from an ordinary 12 MP camera on a standard print. Crop and straighten, archive the full capture as JPG, share resized copies, and name files while you still remember what is in them. The shoebox has waited long enough.
Sharing your scans?
Resize copies for email and family chats right in your browser — your originals never leave your device.
Open the Image Resizer