Guide · Fundamentals · Updated August 2026
DPI, PPI and Resolution: Print vs Screen, Finally Clear
A digital photo has exactly one measure of detail: pixels. Everything else — DPI, PPI, "resolution" — is either a printing instruction or a misunderstanding. Here is the whole story with the math done for you.
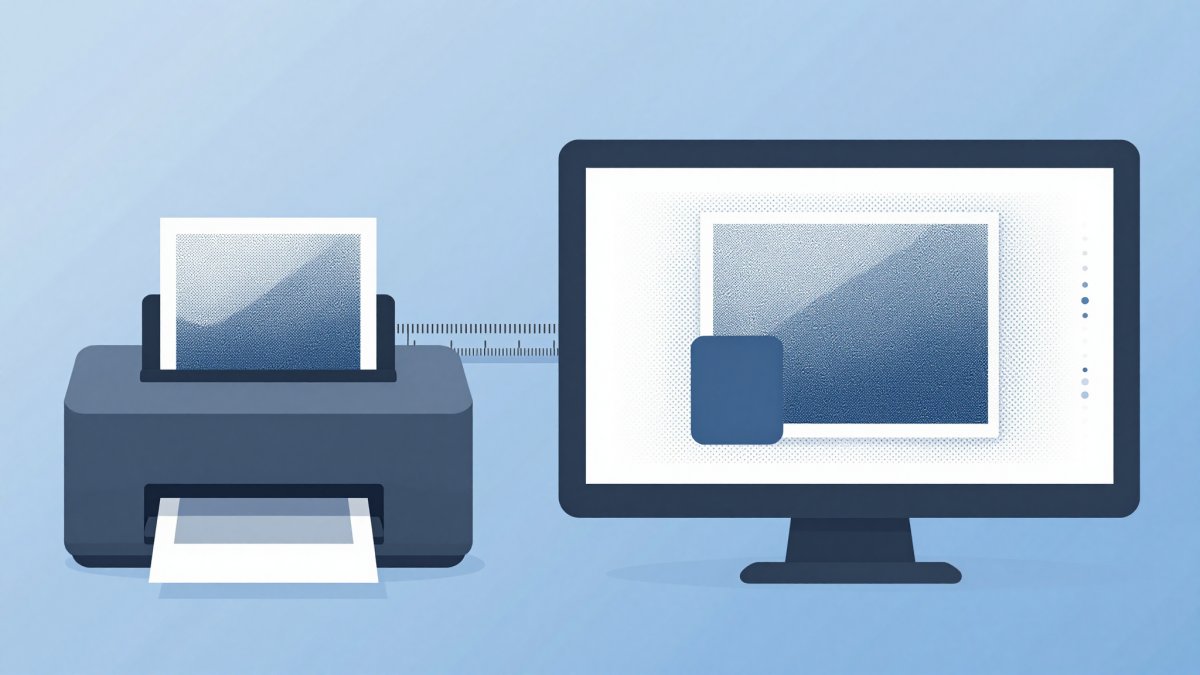
Few topics in digital imaging cause as much confusion as DPI. Print shops ask for "300 DPI files", old tutorials insist websites need "72 dpi images", and photo editors show a resolution box whose purpose nobody quite remembers. The confusion has one root cause: people treat DPI as a measure of image quality. It is not. Once you separate what a file contains from how a device reproduces it, every question about print size and screen display becomes simple arithmetic.
Pixels are the only thing a digital file really has
Open any photo's properties and you will find its true dimensions: something like 4032 × 3024 pixels. That grid of coloured dots is the image. It has no physical size — no centimetres, no inches — until a device gives it one. A 4032 × 3024 photo can become a postage stamp or a billboard; the file is identical in both cases. Only the pixel count sets the ceiling on how much detail exists to work with.
Camera makers describe this same number as megapixels: 4032 × 3024 = 12.2 million pixels, or "12 MP". Same fact, different packaging.
DPI is an instruction for printers, not a property of the image
Strictly speaking, PPI (pixels per inch) describes how densely image pixels are laid onto paper, while DPI (dots per inch) describes the ink droplets a printer sprays to build each pixel. In everyday use the two terms are swapped freely, and for deciding print sizes you can treat them as one idea: how many pixels get packed into each inch of paper.
Image files can store a PPI number in their metadata, but it is nothing more than a suggested print density — a sticky note that says "if printed, spread me at this many pixels per inch". Changing that number changes zero pixels. A photo saved at "72 dpi" and the same photo saved at "300 dpi" are pixel-for-pixel identical files that merely suggest different paper sizes.
The "72 dpi for web" myth
The advice to save web images at 72 dpi dates back to 1980s Apple monitors, which really did display about 72 pixels per inch. Ever since, browsers have ignored the DPI metadata entirely: an 800-pixel-wide image occupies 800 CSS pixels whether its metadata says 72, 300 or 9000. The myth persists because people who "converted" images to 72 dpi often also downscaled them at the same time — and the downscaling, not the DPI tag, is what made files smaller. For screens, the tag is decorative. Nothing more.
The print formula
When paper does enter the picture, one division answers everything:
pixels ÷ inches = PPI
Two thresholds cover almost every real situation:
- 300 PPI — the gold standard for prints examined up close: photo albums, framed 10×15s on a desk, magazine pages. At this density individual pixels are invisible at reading distance.
- 150 PPI — perfectly acceptable for posters and wall art viewed from a metre or more. Viewing distance hides what extra density would have added; large-format shops routinely print billboards below 30 PPI for exactly this reason.
Example: a 3000 × 2000 pixel photo printed at 20 × 30 cm (about 8 × 12 inches) gives 3000 ÷ 12 = 250 PPI. Slightly under the gold standard, comfortably above the poster threshold — it will look great on a wall and very good in the hand.
How many pixels each print size needs
The table below covers the sizes photo labs actually sell. (Lab names in centimetres are rounded labels for inch-based paper: a "10×15" is really a 4×6-inch print.)
| Print size | Inches | Pixels needed at 300 PPI | Minimum at 150 PPI |
|---|---|---|---|
| 10 × 15 cm | 4 × 6″ | 1200 × 1800 | 600 × 900 |
| 13 × 18 cm | 5 × 7″ | 1500 × 2100 | 750 × 1050 |
| 20 × 30 cm | 8 × 12″ | 2400 × 3600 | 1200 × 1800 |
| A4 (21 × 29.7 cm) | 8.3 × 11.7″ | 2480 × 3508 | 1240 × 1754 |
| A3 (29.7 × 42 cm) | 11.7 × 16.5″ | 3508 × 4961 | 1754 × 2480 |
Read it in either direction: to print at a size, check your file has at least the pixels in the 300 column (or the 150 column for wall viewing); or divide your file's pixels by a size's inches to see what density you would get.
What upscaling can and can't do
If your file falls short, upscaling — resizing to more pixels — feels like the obvious fix. Understand what it actually does: the software invents the new pixels by blending neighbouring ones. Detail that was never captured cannot be recovered, so an upscaled image is a softer, larger version of the same information. Modest enlargements of roughly up to 150% usually pass unnoticed, especially for wall prints; doubling or tripling produces visible blur. Our Image Resizer says exactly this in its FAQ rather than promising magic — it will happily upscale, but honesty about the limits saves you a disappointing print. When you have the choice, re-exporting from the original camera file always beats enlarging a compressed copy.
On screens, only pixel dimensions matter
For anything displayed on a monitor or phone, forget density entirely. A screen slot that is 1080 pixels wide wants an image 1080 pixels wide (or double that for high-density displays) — the DPI metadata never enters the calculation. This is why practical web work is entirely about picking the right pixel dimensions and compressing well, as covered step by step in our guide to optimizing images for a faster website. The same logic drives social platforms: Instagram, Pinterest and the rest publish requirements purely in pixels, never in DPI — the full list is in our social media image sizes cheat sheet. And whichever dimensions you settle on, deliver them in the right container: our PNG vs JPG guide settles that choice in two seconds.
How to check a photo's pixel size
- Windows: right-click the file → Properties → Details tab; width and height appear under "Image". Hovering over the file in Explorer shows the same numbers.
- macOS: select the file and press Cmd+I (Get Info) — dimensions are listed under "More Info". In Preview, Tools → Adjust Size shows them too.
- iPhone: open the photo in Photos and swipe up (or tap the i button) — the info panel lists megapixels and exact dimensions.
- Android: open the photo in Google Photos, tap the three-dot menu or swipe up — Details shows dimensions and file size.
Practical scenarios, math included
"Will my phone photo print at 20 × 30 cm?" Yes, comfortably. A standard 12 MP phone photo is 4032 × 3024 pixels. The long side of the print is about 12 inches: 4032 ÷ 12 = 336 PPI — above the gold standard. Even A3 works out to 4032 ÷ 16.5 = 244 PPI, which looks excellent at any normal viewing distance.
"I cropped the photo — does that change things?" It can. Cropping discards pixels, and the math runs on what remains. Crop that 12 MP shot down to a quarter of the frame and you have roughly 2016 × 1512 left — still fine for 13×18, borderline for 20×30, poster-only for A3.
"The lab says my file is 72 dpi and warned me." Ignore the metadata, check the pixels. If the file meets the pixel counts in the table above, it will print perfectly regardless of what the DPI tag claims. Automated lab warnings frequently read only the tag.
The bottom line
Count pixels, not DPI. The file's pixel dimensions are its entire supply of detail; PPI is just how densely you choose to spend that supply on paper; and screens ignore the DPI tag completely. Divide pixels by inches, aim for 300 up close and 150 on the wall, and every "will it print?" question answers itself.
Need exact pixel dimensions?
Resize any photo to the precise size a print or platform needs — free, right in your browser, nothing uploaded.
Open the Image Resizer